


Introduction
In the vibrant world of baking, cupcakes have always held a special place in the hearts of sweet enthusiasts. Their petite size, diverse flavors, and customizable designs make them the perfect treat for any occasion. However, just as important as the cupcakes themselves are the boxes that hold them, adding an extra layer of charm and sophistication to the presentation. Today, we embark on a journey to create a charming cupcake box, step-by-step, ensuring that your cupcakes make a memorable impression from the moment they’re gifted or served.
Step 1: Gathering Your Materials
To embark on this creative endeavor, you’ll need to gather a few essential materials. These include:
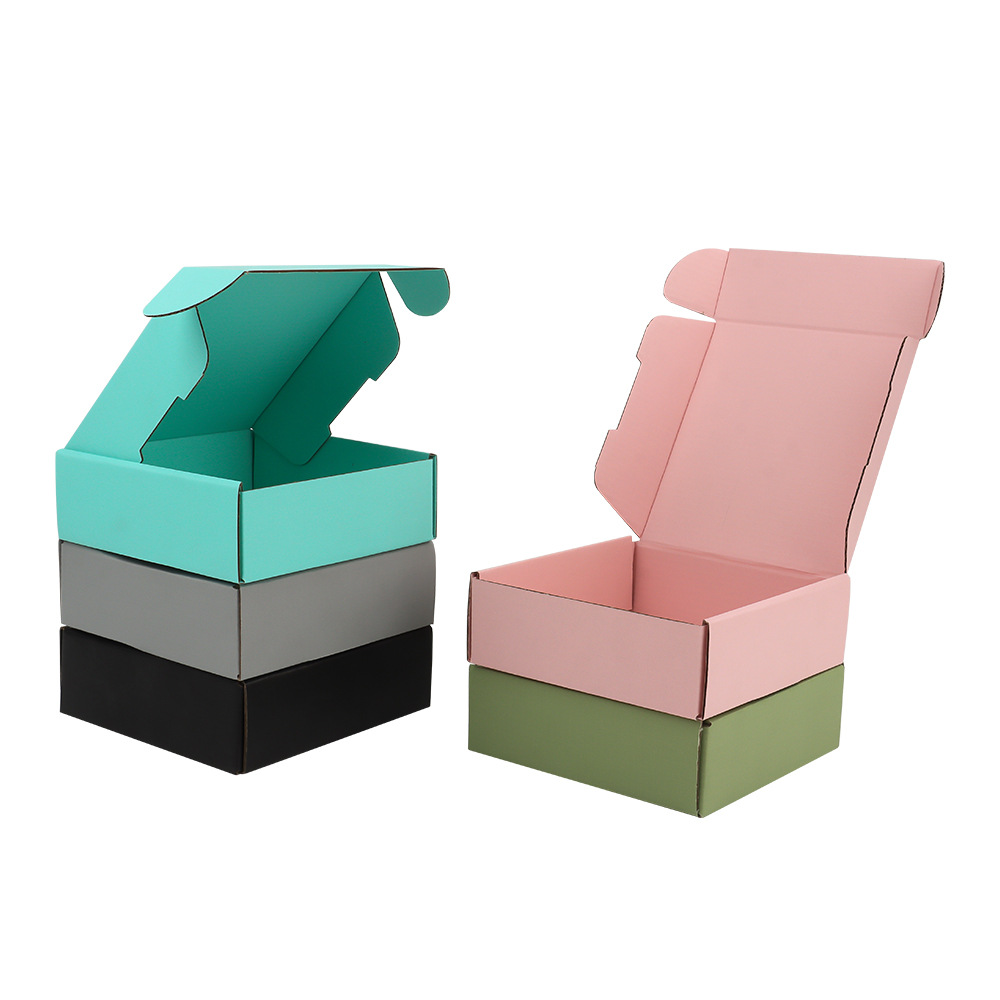
Cardstock or heavyweight paper: The foundation of your cupcake box, choose a material that’s sturdy yet malleable. White cardstock is a classic choice, but you can also experiment with colors and textures to suit your theme.
- Scissors or a craft knife: For precise cutting of your cardstock.
- Ruler or measuring tape: To ensure accurate measurements and straight lines.
- Glue or double-sided tape: To adhere your box’s various components together.
- Decorative elements (optional): Ribbons, lace, buttons, sequins, or anything that catches your eye to add a personal touch.
- Pens, markers, or stickers (optional): For labeling or adding designs to your box.

Step 2: Measuring and Cutting Your Base
Begin by measuring and cutting the base of your cupcake box. The size will depend on how many cupcakes you intend to fit inside. For a standard-sized cupcake, start with a square or rectangular piece of cardstock that’s roughly 6 inches by 6 inches (15 cm by 15 cm). This will serve as the base of your box.
Step 3: Crafting the Sides(cupcake box)
Next, cut four rectangular strips of cardstock to form the sides of your box. The length of these strips should be slightly longer than the perimeter of your base to allow for overlap and ensure a sturdy structure. The width of the strips will determine the height of your box; typically, 2 inches (5 cm) is a good starting point.
Step 4: Assembling the Box(cupcake box)
Once you have your base and sides ready, it’s time to assemble the box. Apply glue or double-sided tape to the edges of your base, then carefully attach the sides, one by one. Ensure that the corners are flush and secure, and that the box stands upright when finished.
Step 5: Adding the Lid (Optional)
If you’d like a lid for your cupcake box, repeat steps 2 through 4, but adjust the measurements slightly to create a slightly smaller square or rectangle that will fit snugly on top of your box. Alternatively, you can opt for a hinged lid by attaching a strip of cardstock across the back of your box, then folding and gluing a separate piece of cardstock to act as the lid, with a small tab on the back to secure it in place.
Step 6: Embellishing Your Box
Now comes the fun part—embellishing your cupcake box! This is where you can let your creativity shine. Add a ribbon around the edge of the lid, tie a bow, or attach a lace trim for a touch of elegance. You can also use markers, pens, or stickers to create designs or patterns on the exterior of your box. If you’re feeling ambitious, consider cutting out shapes from contrasting colors of cardstock and gluing them onto your box for a more intricate design.
Step 7: Personalizing Your Box
Don’t forget to personalize your cupcake box by adding a special message or dedication. Whether it’s for a birthday, anniversary, or simply because, a heartfelt note will make your gift even more meaningful. You can write your message directly on the box with a pen or marker, or print it out on a small piece of paper and attach it with a ribbon or sticker.
Step 8: Finishing Touches
Finally, take a step back and admire your handiwork. Check that all the edges are smooth, the corners are secure, and the lid fits snugly. If necessary, make any final adjustments or embellishments. Once you’re satisfied, your cupcake box is ready to be filled with delicious cupcakes and gifted to your loved ones.
Step 9: Market Your Creations
Once you’ve perfected your custom cupcake box, it’s time to showcase your creations! Share them on social media, attend local food markets or craft fairs, and even offer them as an add-on service to your bakery or dessert business.
Conclusion
Crafting a charming cupcake box is a rewarding experience that combines creativity, precision, and attention to detail. By following these simple steps, you can create a unique and personalized gift that will delight any recipient. Whether you’re a seasoned baker or a novice crafter, this project is sure to inspire your inner artist and bring joy to those around you. So gather your materials, roll up your sleeves, and let’s get started on crafting the perfect cupcake box!
Post time: Aug-21-2024


