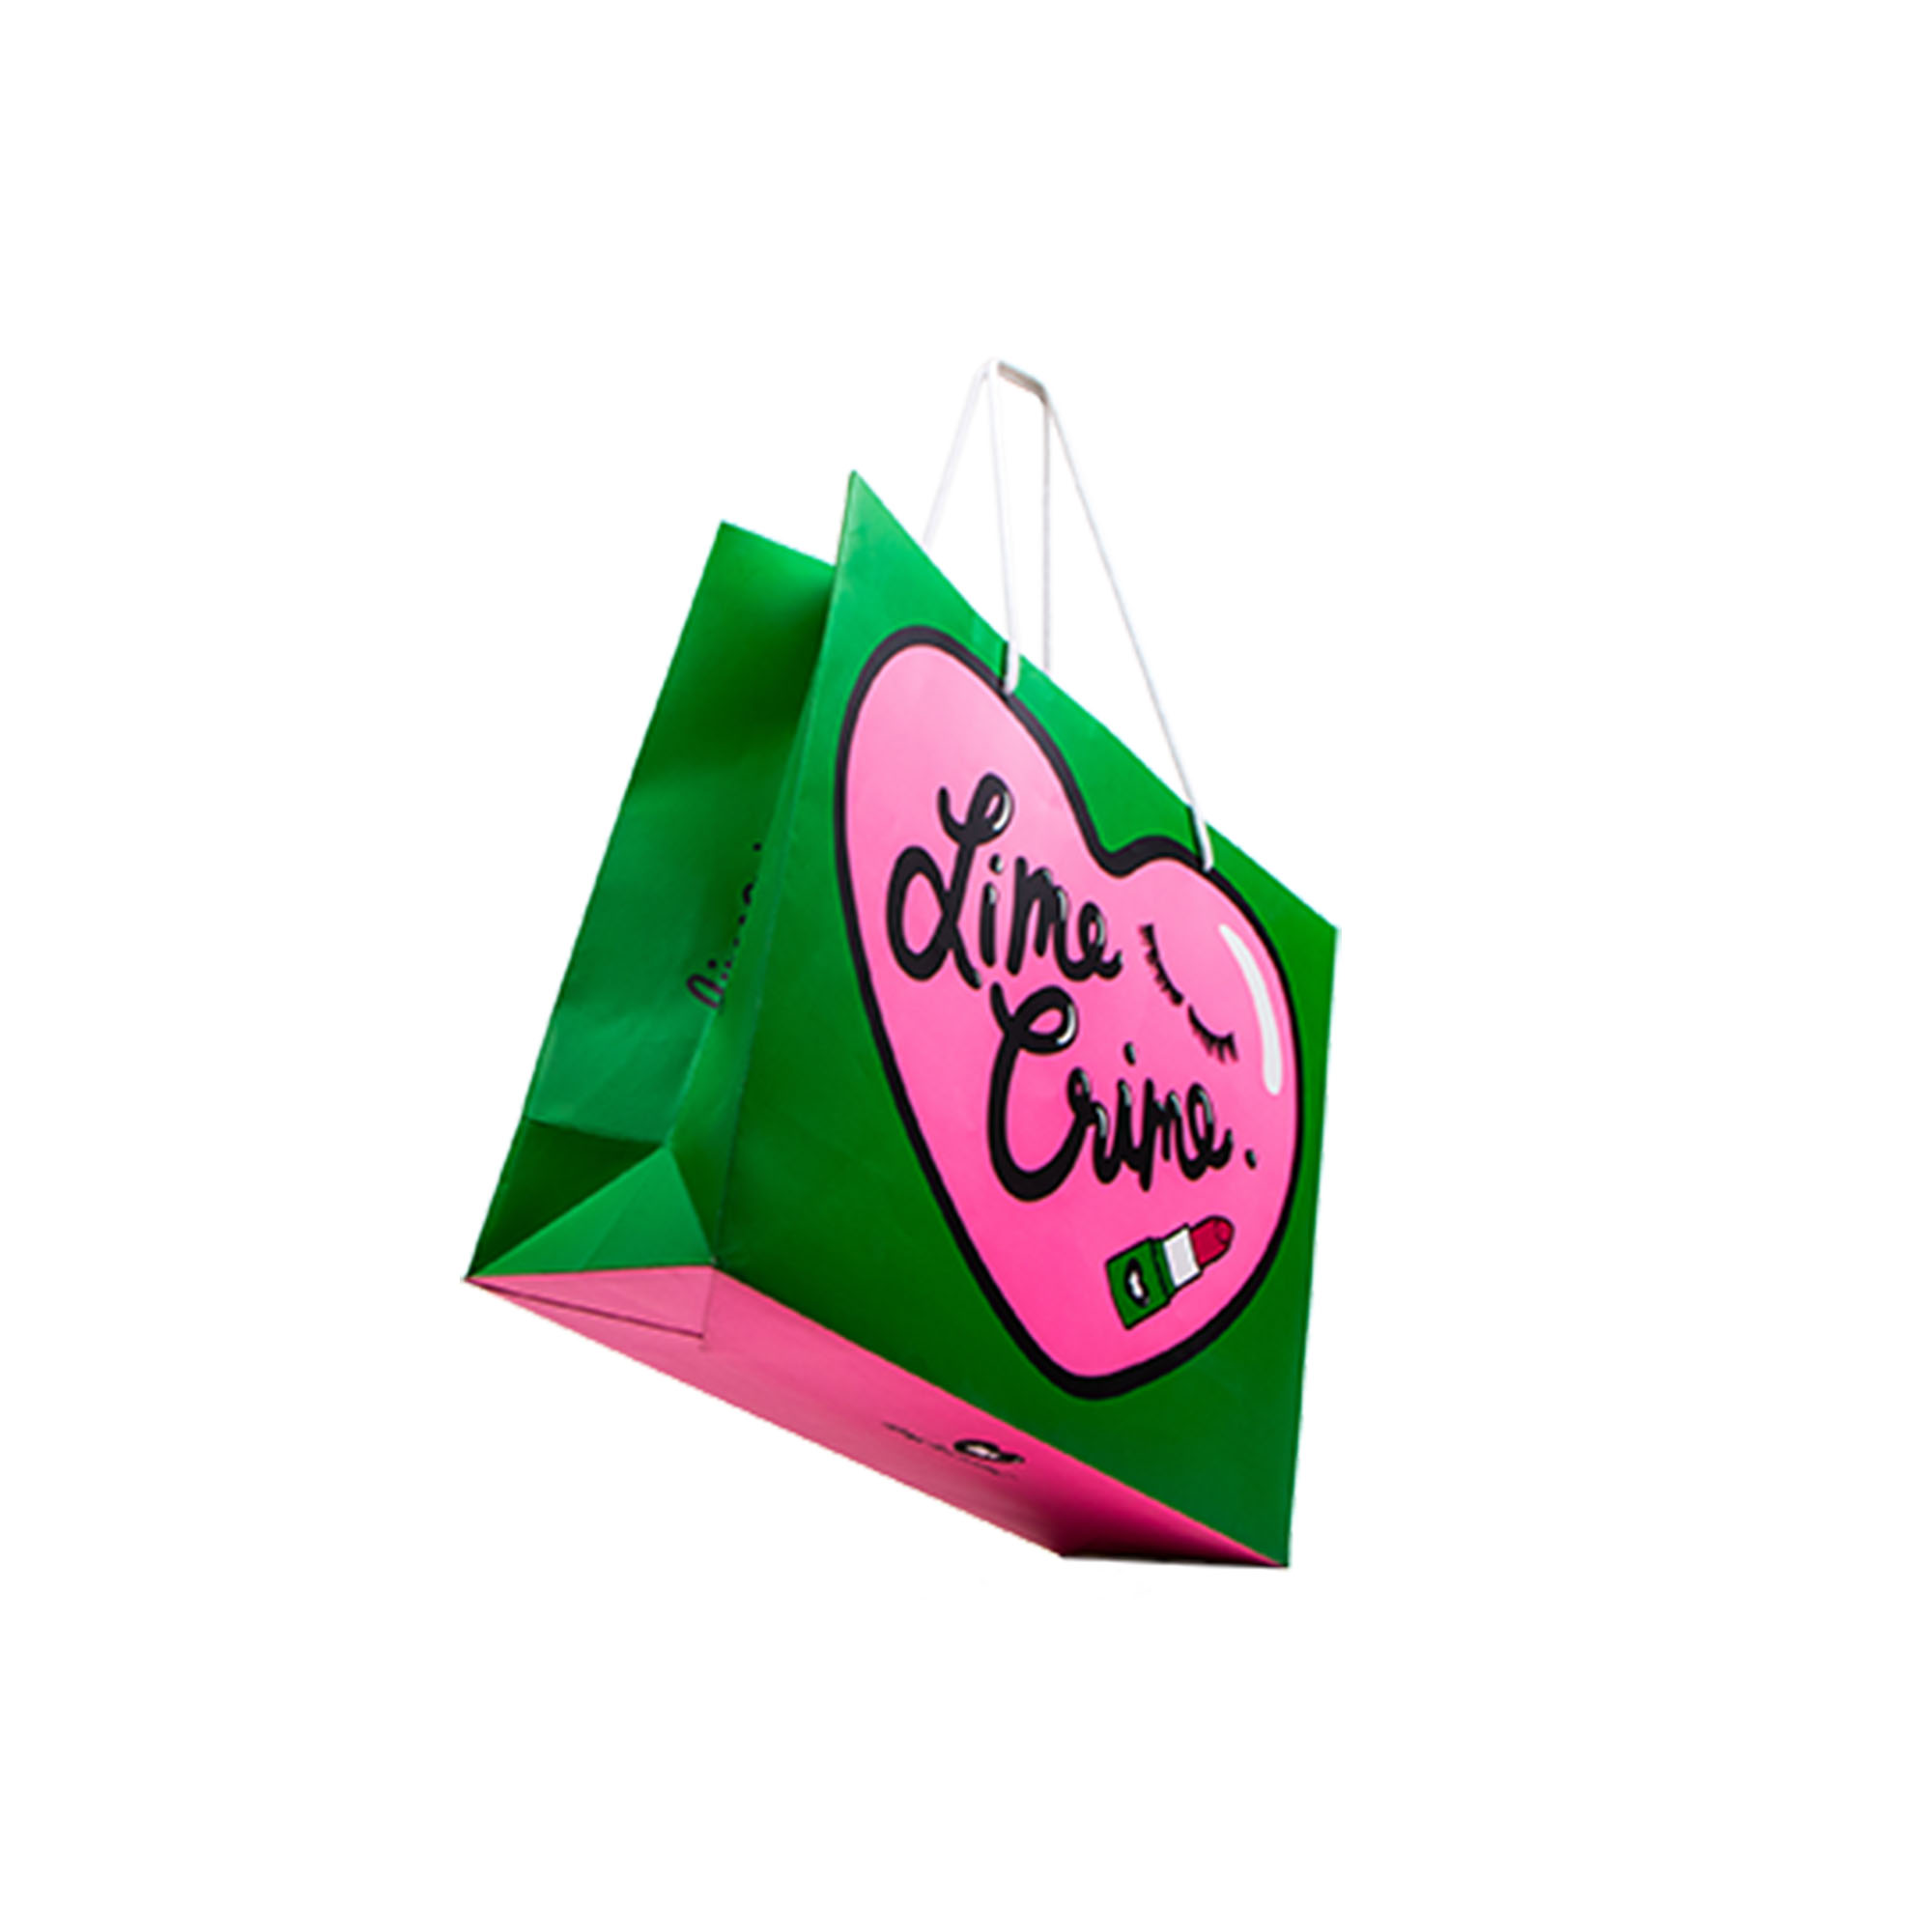
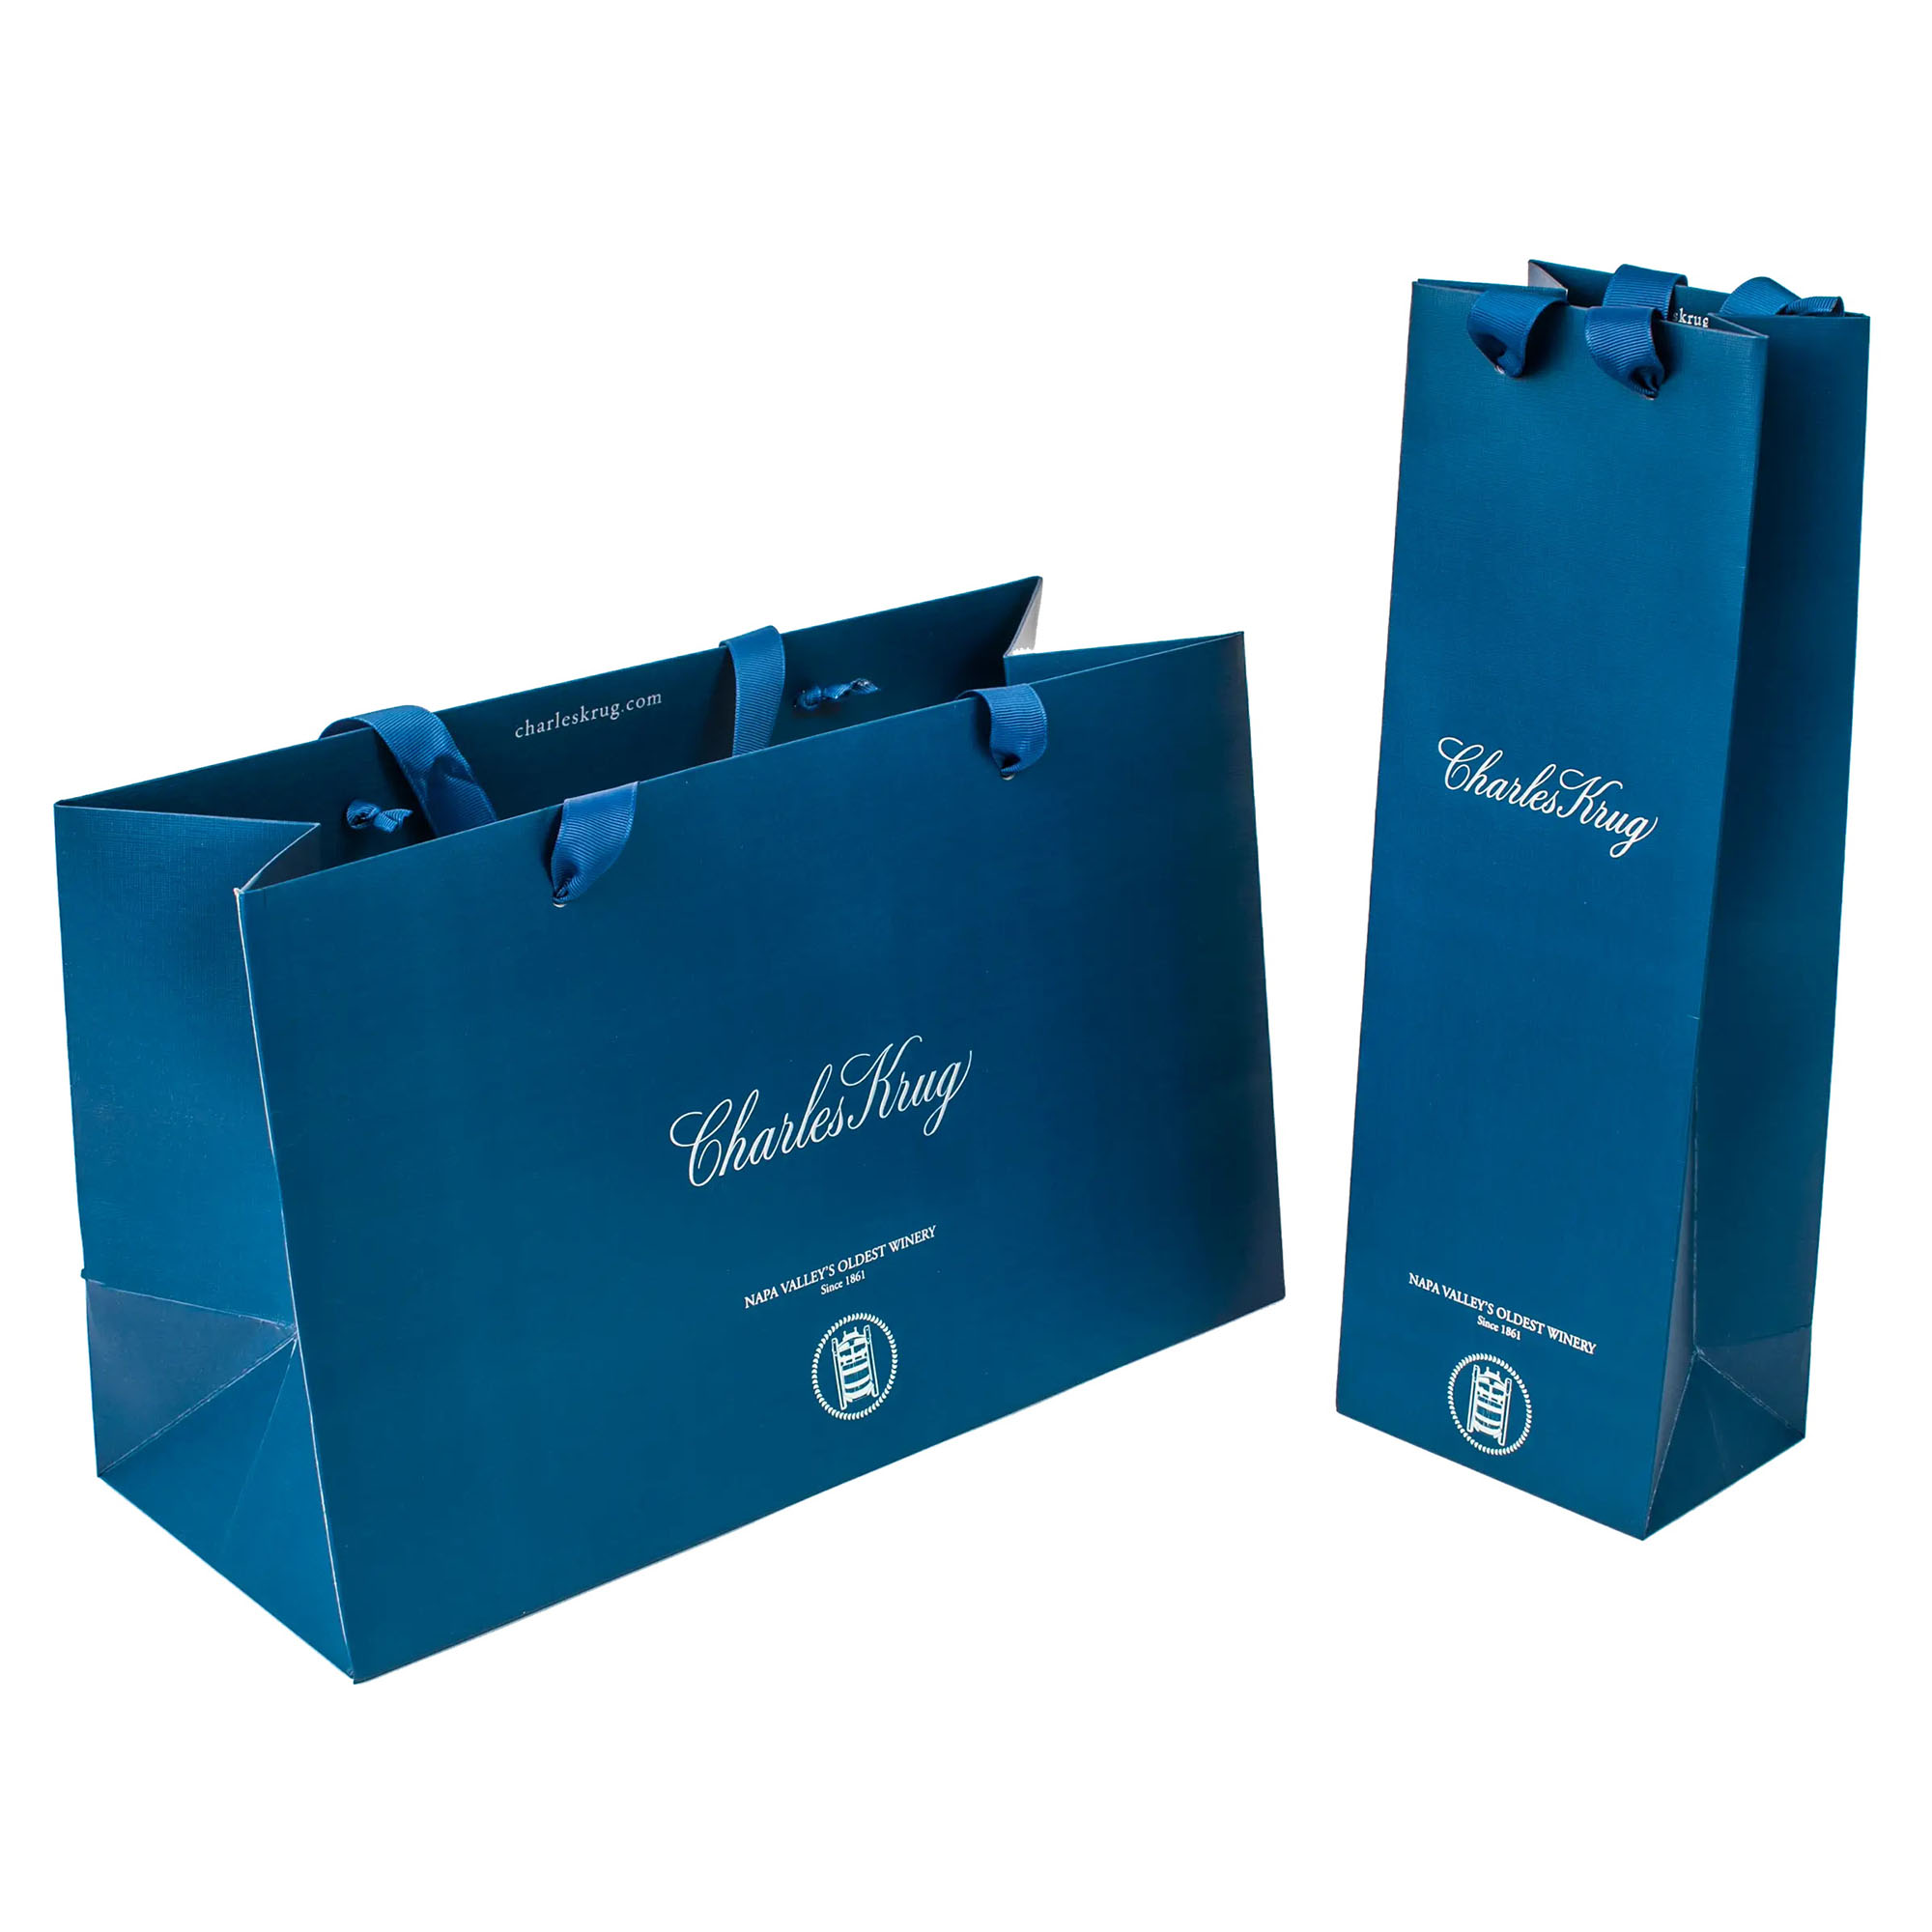
In a world increasingly focused on sustainability, paper bags have become a favorite choice for shopping, gifting, and more. Not only are they eco-friendly, but they also offer a canvas for creativity. Whether you need a standard shopping bag, a beautiful gift bag, or a personalized custom bag, this guide will take you through the process of making each style. With simple, step-by-step instructions and downloadable templates, you’ll be creating your own paper bags in no time!
 Why Choose Paper Bag
Before we dive into the crafting process, let’s briefly discuss the benefits of choosing paper bags over plastic ones:
Eco-Friendliness: Paper bags are biodegradable and recyclable, making them a much more sustainable option.
Customizability: They can be easily personalized to suit any occasion or brand.
Versatility: From shopping to gifting, paper bags can serve a multitude of purposes.
Materials and Tools You’ll Need
To get started on your paper bag-making journey, gather the following materials and tools:
Basic Materials:
Paper: Choose sturdy paper like kraft, cardstock, or recycled paper.
Glue: A reliable adhesive like craft glue or double-sided tape.
Scissors: Sharp scissors for clean cuts.
Ruler: For precise measurements.
Pencil: For marking your cuts.
Decorative Elements: Eco-friendly ribbons, stickers, stamps, or colored pens for customization.
Tools:
Bone Folder: For creating crisp folds (optional).
Cutting Mat: To protect your surfaces while cutting (optional).
Printable Templates: Downloadable templates for each bag style (links below).
Step-by-Step Instructions for Three Distinct Paper Bag Styles
1. Standard Shopping Bags
Step 1: Download the Template
Click here to download the standard shopping bag template.
Step 2: Cut the Template
Using scissors, cut along the solid lines of the template.
Step 3: Fold the Bag
Follow these steps to create the bag shape:
Fold along the dashed lines to form the sides and bottom of the bag.
Use a bone folder to create sharp folds for a neat finish.
Step 4: Assemble the Bag
Apply glue or tape to the edges where the sides meet. Hold until secure.
Step 5: Create Handles
Cut two strips of paper (about 1 inch wide and 12 inches long).
Attach the ends to the inside of the bag’s opening with glue or tape.
Step 6: Customize Your Bag
Use eco-friendly decorative elements like hand-drawn designs or biodegradable stickers.
Image Insertion Suggestion: Include a step-by-step image series showing each phase of the bag construction, emphasizing natural lighting and relaxed settings.
2. Elegant Gift Bags
Step 1: Download the Gift Bag Template
Click here to download the elegant gift bag template.
Step 2: Cut the Template
Cut along the solid lines, ensuring clean edges.
Step 3: Fold and Assemble
Fold along the dashed lines to shape the bag.
Secure the sides and bottom with glue.
Step 4: Add a Closure
For an elegant touch, consider adding a decorative ribbon or sticker to seal the bag.
Step 5: Personalize
Decorate the bag using colored pens or eco-friendly paints.
Add a small card for a personalized message.
Image Insertion Suggestion: Use close-up shots of the hands decorating the bag, capturing the creative process in a casual setting.
3. Personalized Custom Bags
Step 1: Download the Custom Bag Template
Click here to download the customizable bag template.
Step 2: Cut the Template
Follow the cutting lines carefully for precision.
Step 3: Create the Bag Shape
Fold along the dashed lines.
Secure the bag using glue or tape.
Step 4: Add Custom Features
Incorporate cut-out designs, stencils, or your unique artwork.
Attach handles with eco-friendly ribbons.
Step 5: Showcase Your Creativity
Share your unique designs on social media, encouraging others to join the fun!
Image Insertion Suggestion: Highlight the final product in various settings, showcasing its use as a gift or shopping bag.
Practical Tips for Making Paper Bags
Sustainability Focus: Always choose recycled or sustainably sourced paper.
Use Natural Light: When photographing your bag-making process, opt for soft, natural lighting to enhance the visual appeal.
Show Real-Life Applications: Capture images of your finished bags in real-world scenarios, like being used for shopping or as gift wrapping.
Keep It Casual: Show the process in a relatable environment, such as a kitchen table or workspace, to make it feel approachable and fun.
Creative Personalization Ideas
Hand-Drawn Designs: Use colored pens or eco-friendly inks to create unique patterns or messages on the bags.
Eco-Friendly Ribbons: Instead of plastic, opt for natural fibers like jute or cotton for handles or decorations.
Biodegradable Stickers: Add stickers that can compost without harming the environment.
External Video Resources
Conclusion
Making paper bags is not only a fun and creative activity but also a step towards a more sustainable lifestyle. With these simple instructions and your unique designs, you can contribute to reducing plastic waste while showcasing your creativity. So gather your materials, choose your favorite bag style, and start crafting today!
Happy crafting!
Post time: Oct-16-2024


